How to Repaint an Outboard Motor
A lot of people are unsure which product to use to correct the imperfections on their outboard motor, so they settle for swirls and surface imperfections. In this blog post, I'll walk you through identifying whether your motor has gel coat or paint and which products work best to create shine and restore its depth and vibrancy.
Is your Outboard Gel Coat or Paint?
It's important to identify the type of paint on your outboard engine. Determining whether your outboard has a gel coat or paint will help you choose the right products in the revitalization process. There are two easy methods to use that will quickly tell you which finish you're dealing with.
Method One
Using a white cloth, use rubbing alcohol on an inconspicuous area, rubbing it in a circular motion. If the surface begins to shine, you most likely are dealing with a gel coat paint job.
Method Two
Rub a piece of sandpaper over a smooth area. If it doesn't pull or snag any surface fibers, it's most likely a gel coat.
What do I need for an Outboard Paint Correction?
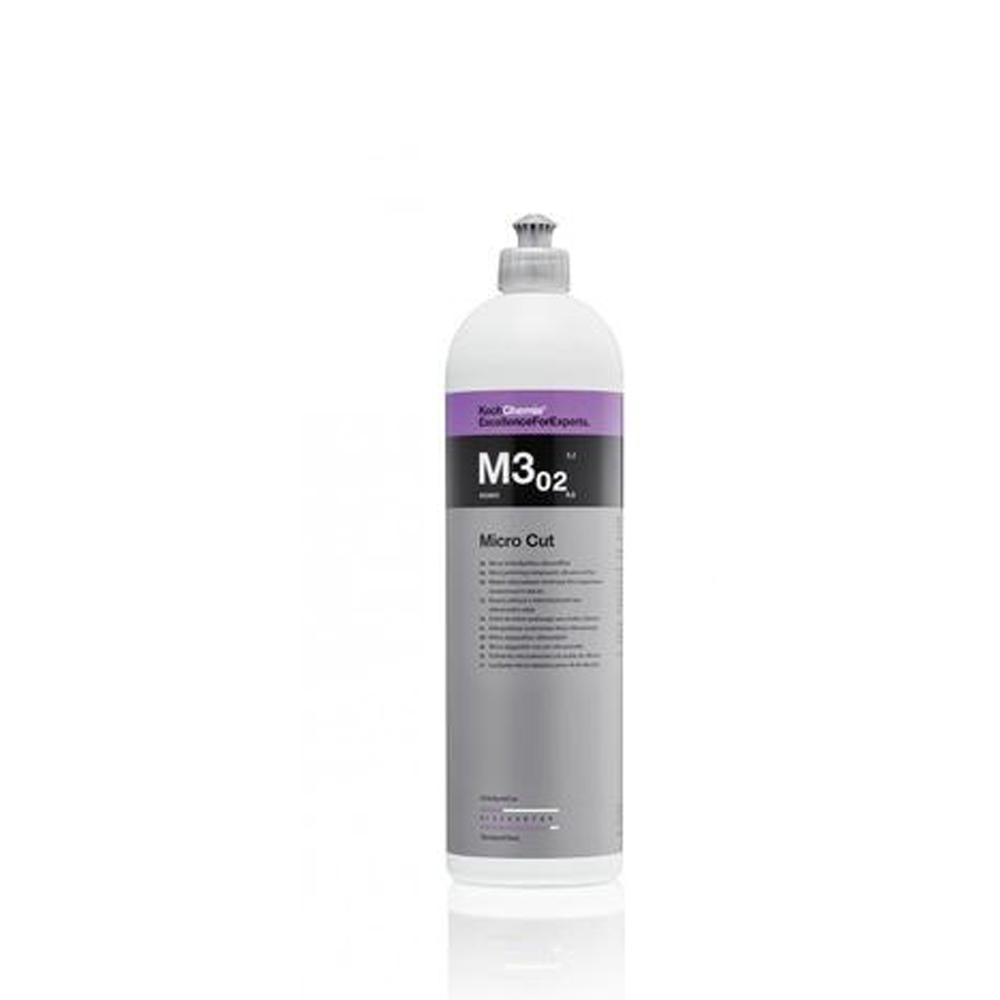
If your outboard motor is painted, you'll need only two items to correct surface imperfections that have developed. I've found great success using Koch Chemie Micro Cut with a PXE 80 and a 3-inch HDO orange pad. I like this combination because it's a little bit less aggressive while still providing excellent results.
To use, apply a few dabs of product onto the pad and apply in a circular motion. You will quickly notice the swirls and imperfections disappear, and you're left with a shiny surface full of depth that looks virtually brand-new. Finish by wiping away any excess with a clean, dry cloth, and you're done!
Additional Tips for Outboard Paint Correction
- Use a hair dryer or heat gun to remove any decals prior to correcting. Take your time and use a razor paint scraper to remove them once warmed. Remove any remaining glue with Goo Gone or acetone.
- Always repair any damage before beginning your paint correction. I like marine-Tex, a repair filler found online or at marine supply stores, as it works well for smaller blemishes and cracks.
- Thoroughly sand and clean all repair areas prior to painting to ensure a seamless finish.
- Paint spraying will help you avoid streaks and provide professional-looking results.
- Always apply several thin coats of paint to avoid a "foggy" or "misty" appearance, finishing with a gloss clear coat for unbeatable shine.
- For applying decals, use a solution of water with ONE DROP of Dawn dish soap to wet the surface. Doing this will allow you to position the decal and move them around without tearing and ensure there are no air bubbles.
Conclusion
Your outboard motor gets a lot of abuse, causing swirls and imperfections to arise. You can correct minor swirls and imperfections in the paint quickly and easily, using Koch Chemie Micro Cut with a PXE 80 and a 3-inch HDO orange pad. With only a few simple steps, you can ensure your motor looks newer for longer with superior shine and vibrant colors you can be proud of.