How to Clean Boat Detailing Pads
We know that pads are used to clean and polish but taking proper care of your pads will help them last longer and allow you to purchase fewer replacement pads. The steps are simple, and the process is well worth it. We’ll break down everything you need to know about cleaning pads below.
Recommended Supplies
To get started, round up all the dirty, but salvageable pads. Then, get 2 large buckets, some Dawn Dish Soap, and Starke Simple Clean Multi-Purpose Cleaner. You probably already have most of the supplies on hand, but if not you should be able to order them quickly.
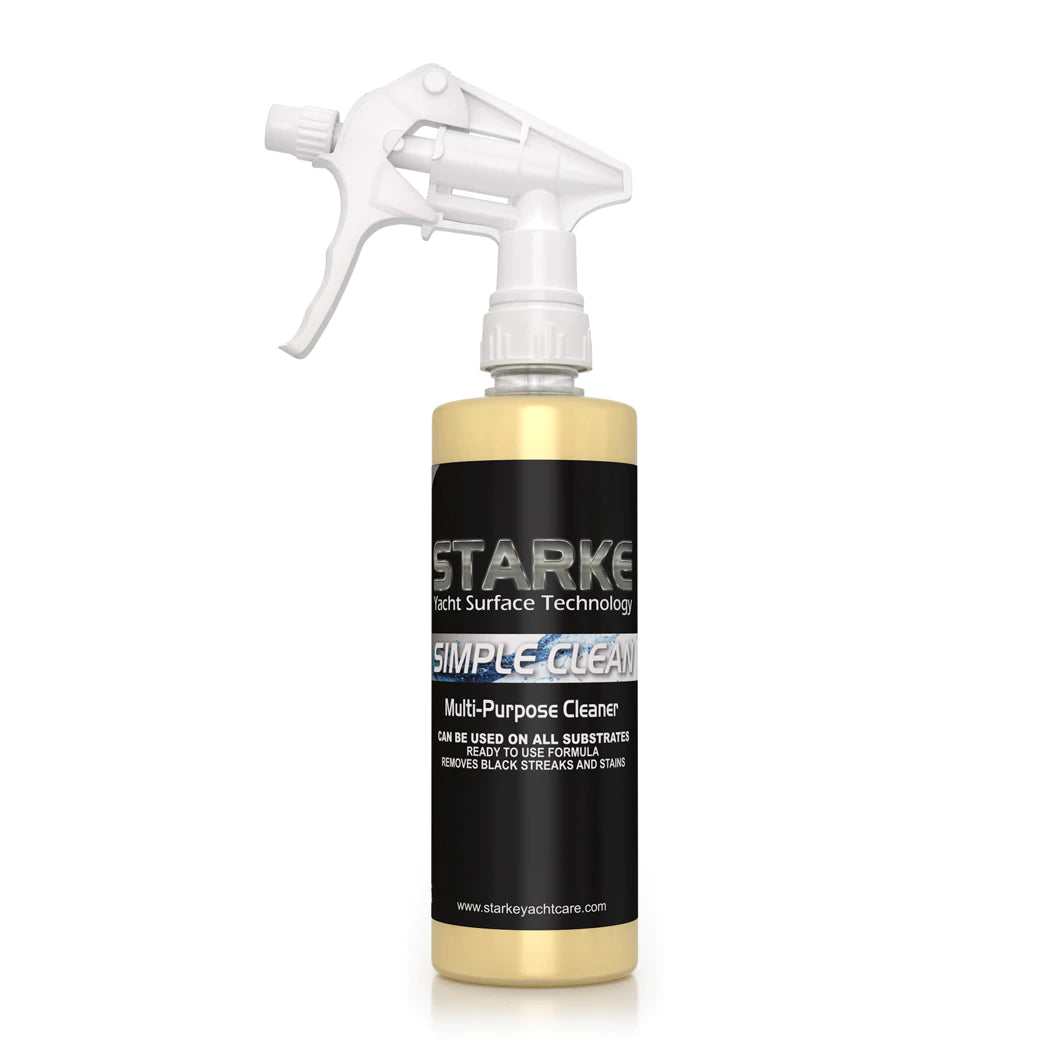
Step 1: Spray Down Pads

Use the Starke Simple Clean Multi-Purpose Cleaner and spray each pad with a healthy amount of the solution. It does not need to be completely saturated or dripping, but spraying the solution on some of the most damaged areas will help get the pad as clean as possible.
Step 2: Soak Pads
Next, fill one of the buckets with warm water, Dawn Dish Soap, and some of the Starke Simple Clean, then throw all the pads in the bucket. You’ll want to soak them for about 2 hours or more if possible. Remember, the longer you soak them, the easier it will be to lift the oils out.
Step 3: Brush Pads
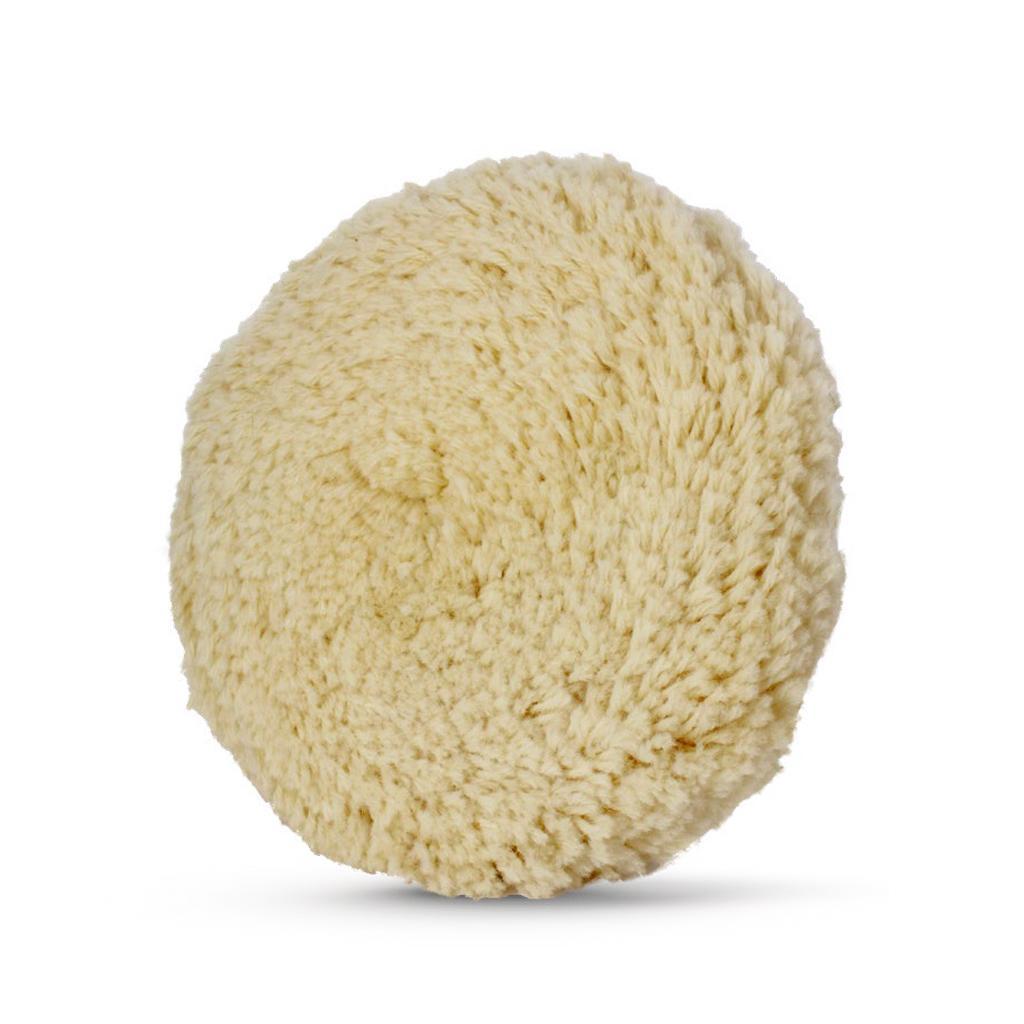
While your pads are soaking, you can pull each one out and give it a good brush with a drill brush. This can help the wool pads such as the Lake Country Wool Cutting Pad get a bit of their fluff back. With wool pads, the fibers can become matted together, but soaking and brushing them will separate the strands and bring the pad back to life. This is an optional step and may not be necessary for polishing pads such as the HDO Polish Pad or the SDO Orbital Polishing Pad.
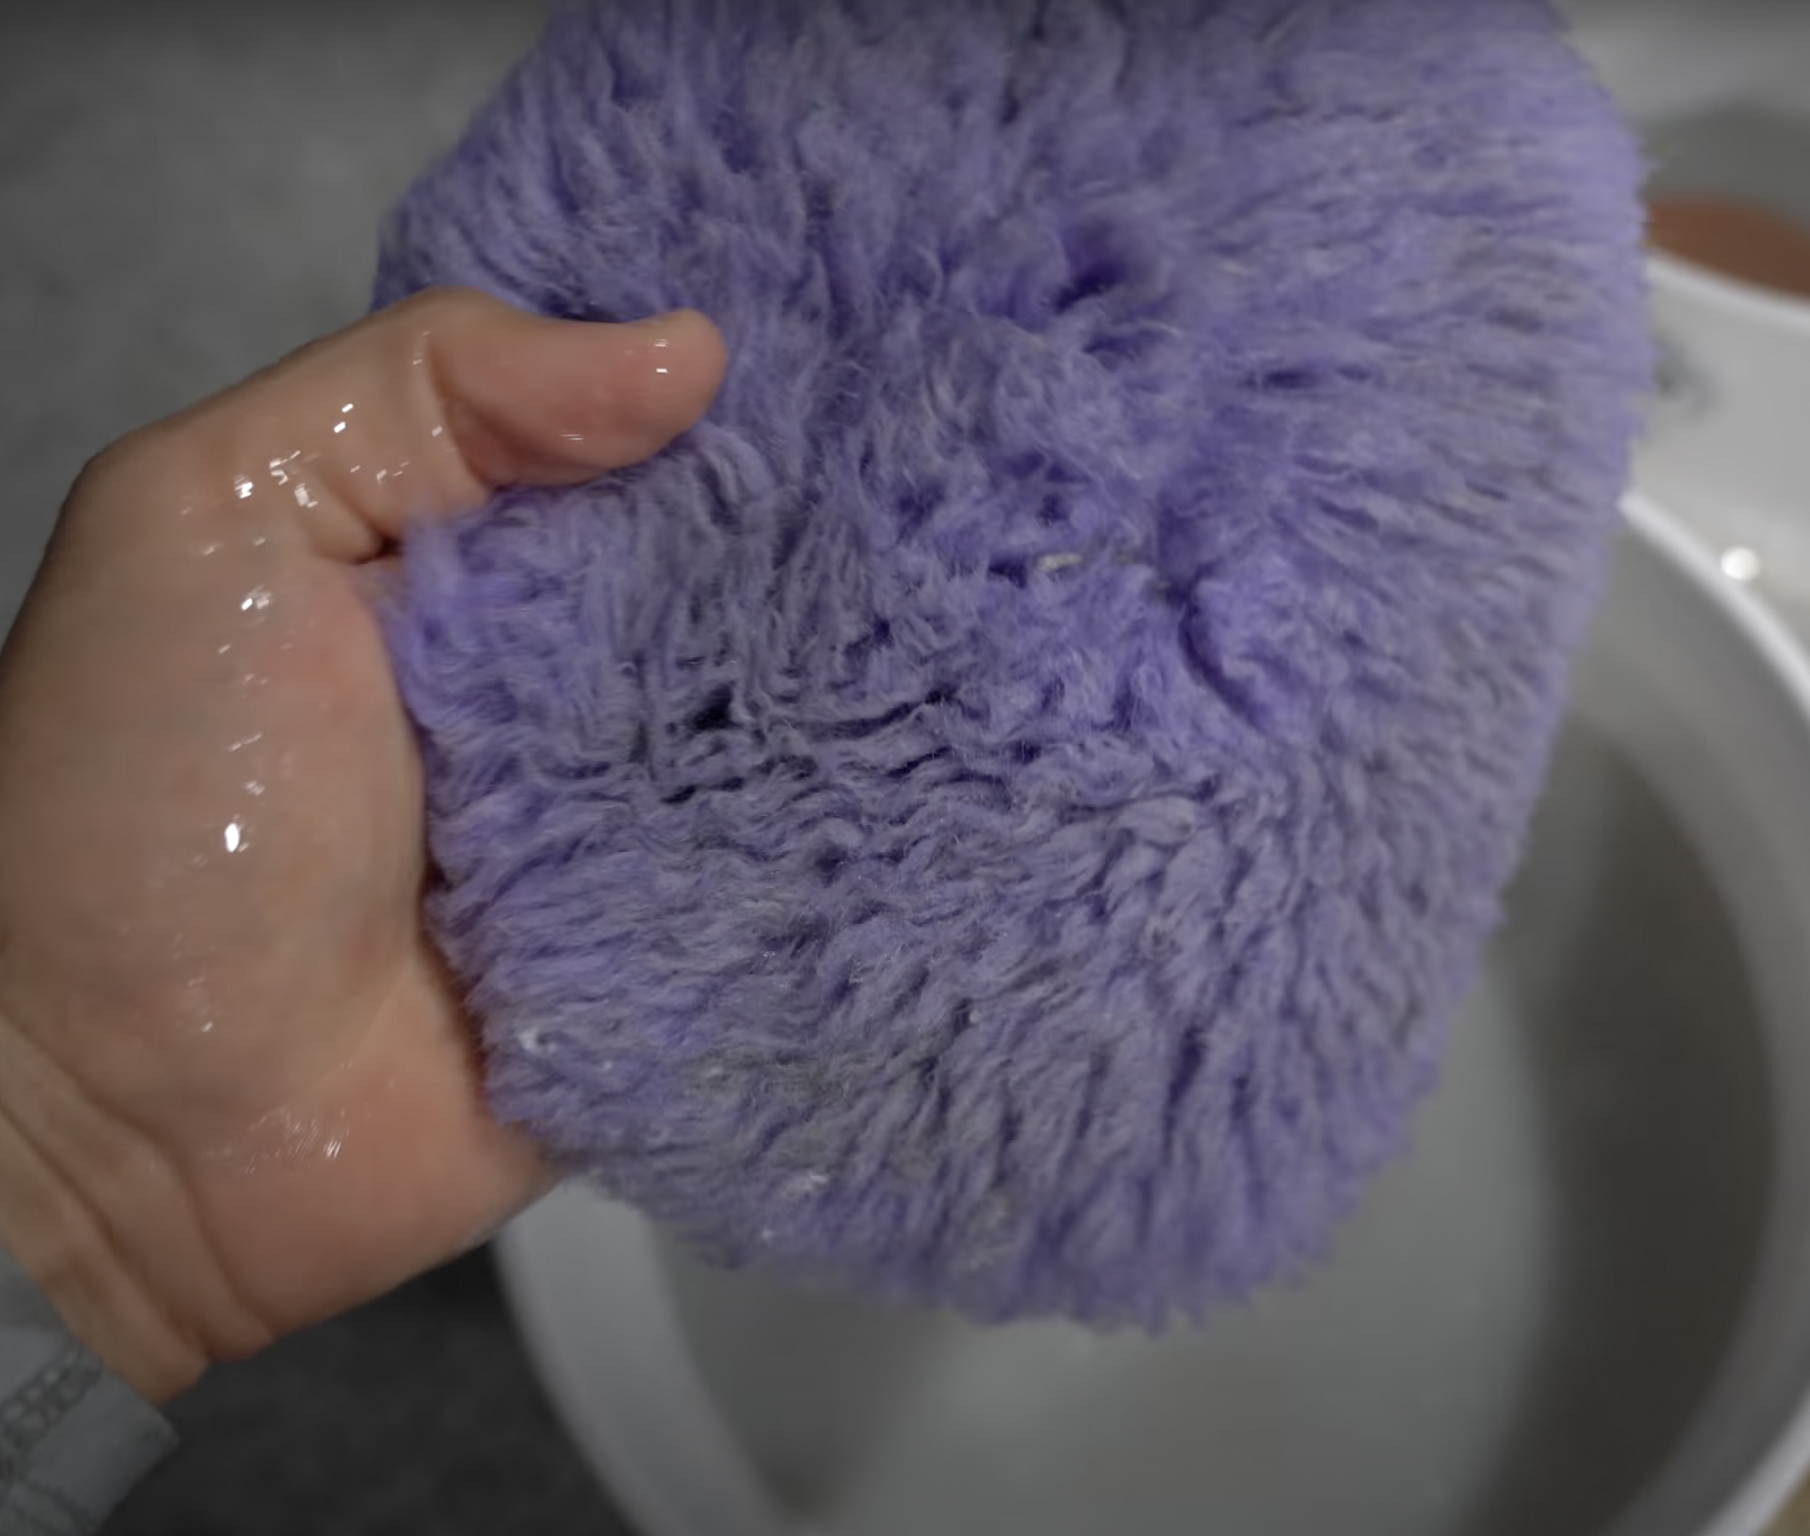
Step 4: Rinse Pads
After your pads have been brushed and are done soaking, you need to take each pad out and rinse it off well, removing as much remaining dirt and grime as possible, as well as lifting any leftover soap or cleaner residue out of the pads.
Step 5: Spin on Rotary Machine

When the pads are clean but still wet, you can use the FLEX PE 150 to dry them quickly. Simply attach each pad and turn the rotary on a level 1 speed for a few seconds, then crank it up to a level 6 and let the pad spin for about a minute. After this step, the pads should be mostly dry, but by letting them sit in the sun for another hour or so, you can use them to work later in the day.
How to Know When It’s Time to Clean Your Pads

It’s important to be able to recognize when a pad needs to be cleaned or needs to be thrown away. Sometimes, if pads are used to polish a large boat, they won’t be able to be used again. However, when pads still have some fluff but are starting to get matter or discolored, cleaning them can bring new life to the pads.
Clean Pads, Cleaner Boat
Taking care of your boat is critical, but don’t forget to take care of the tools and supplies that you use on your boat, too. By cleaning your pads instead of throwing them away when possible, you’ll get better results from detailing and spend less money on pads in the long run.
Watch how I clean my own boat detailing pads in the video below!