News

How Much Should I Charge for a Boat Detailing Job?
You’ve sharpened your skills to the best of your ability, put them into practice for countless hours, and are finally ready to offer your knowledge to the rest of the world — and earn some cash in the process.
As more people look to purchase their own boats, the demand for professional boat detailers like yourself continues to rise. Still, figuring out the best way to price your services can be a challenge, especially if you’re just starting out.
Don’t worry; we’re here to help. Follow these tips to make the most out of your jobs.
1. Know the Size of the Boat

As you might expect, the bigger the boat, the more expensive it’ll be to detail.
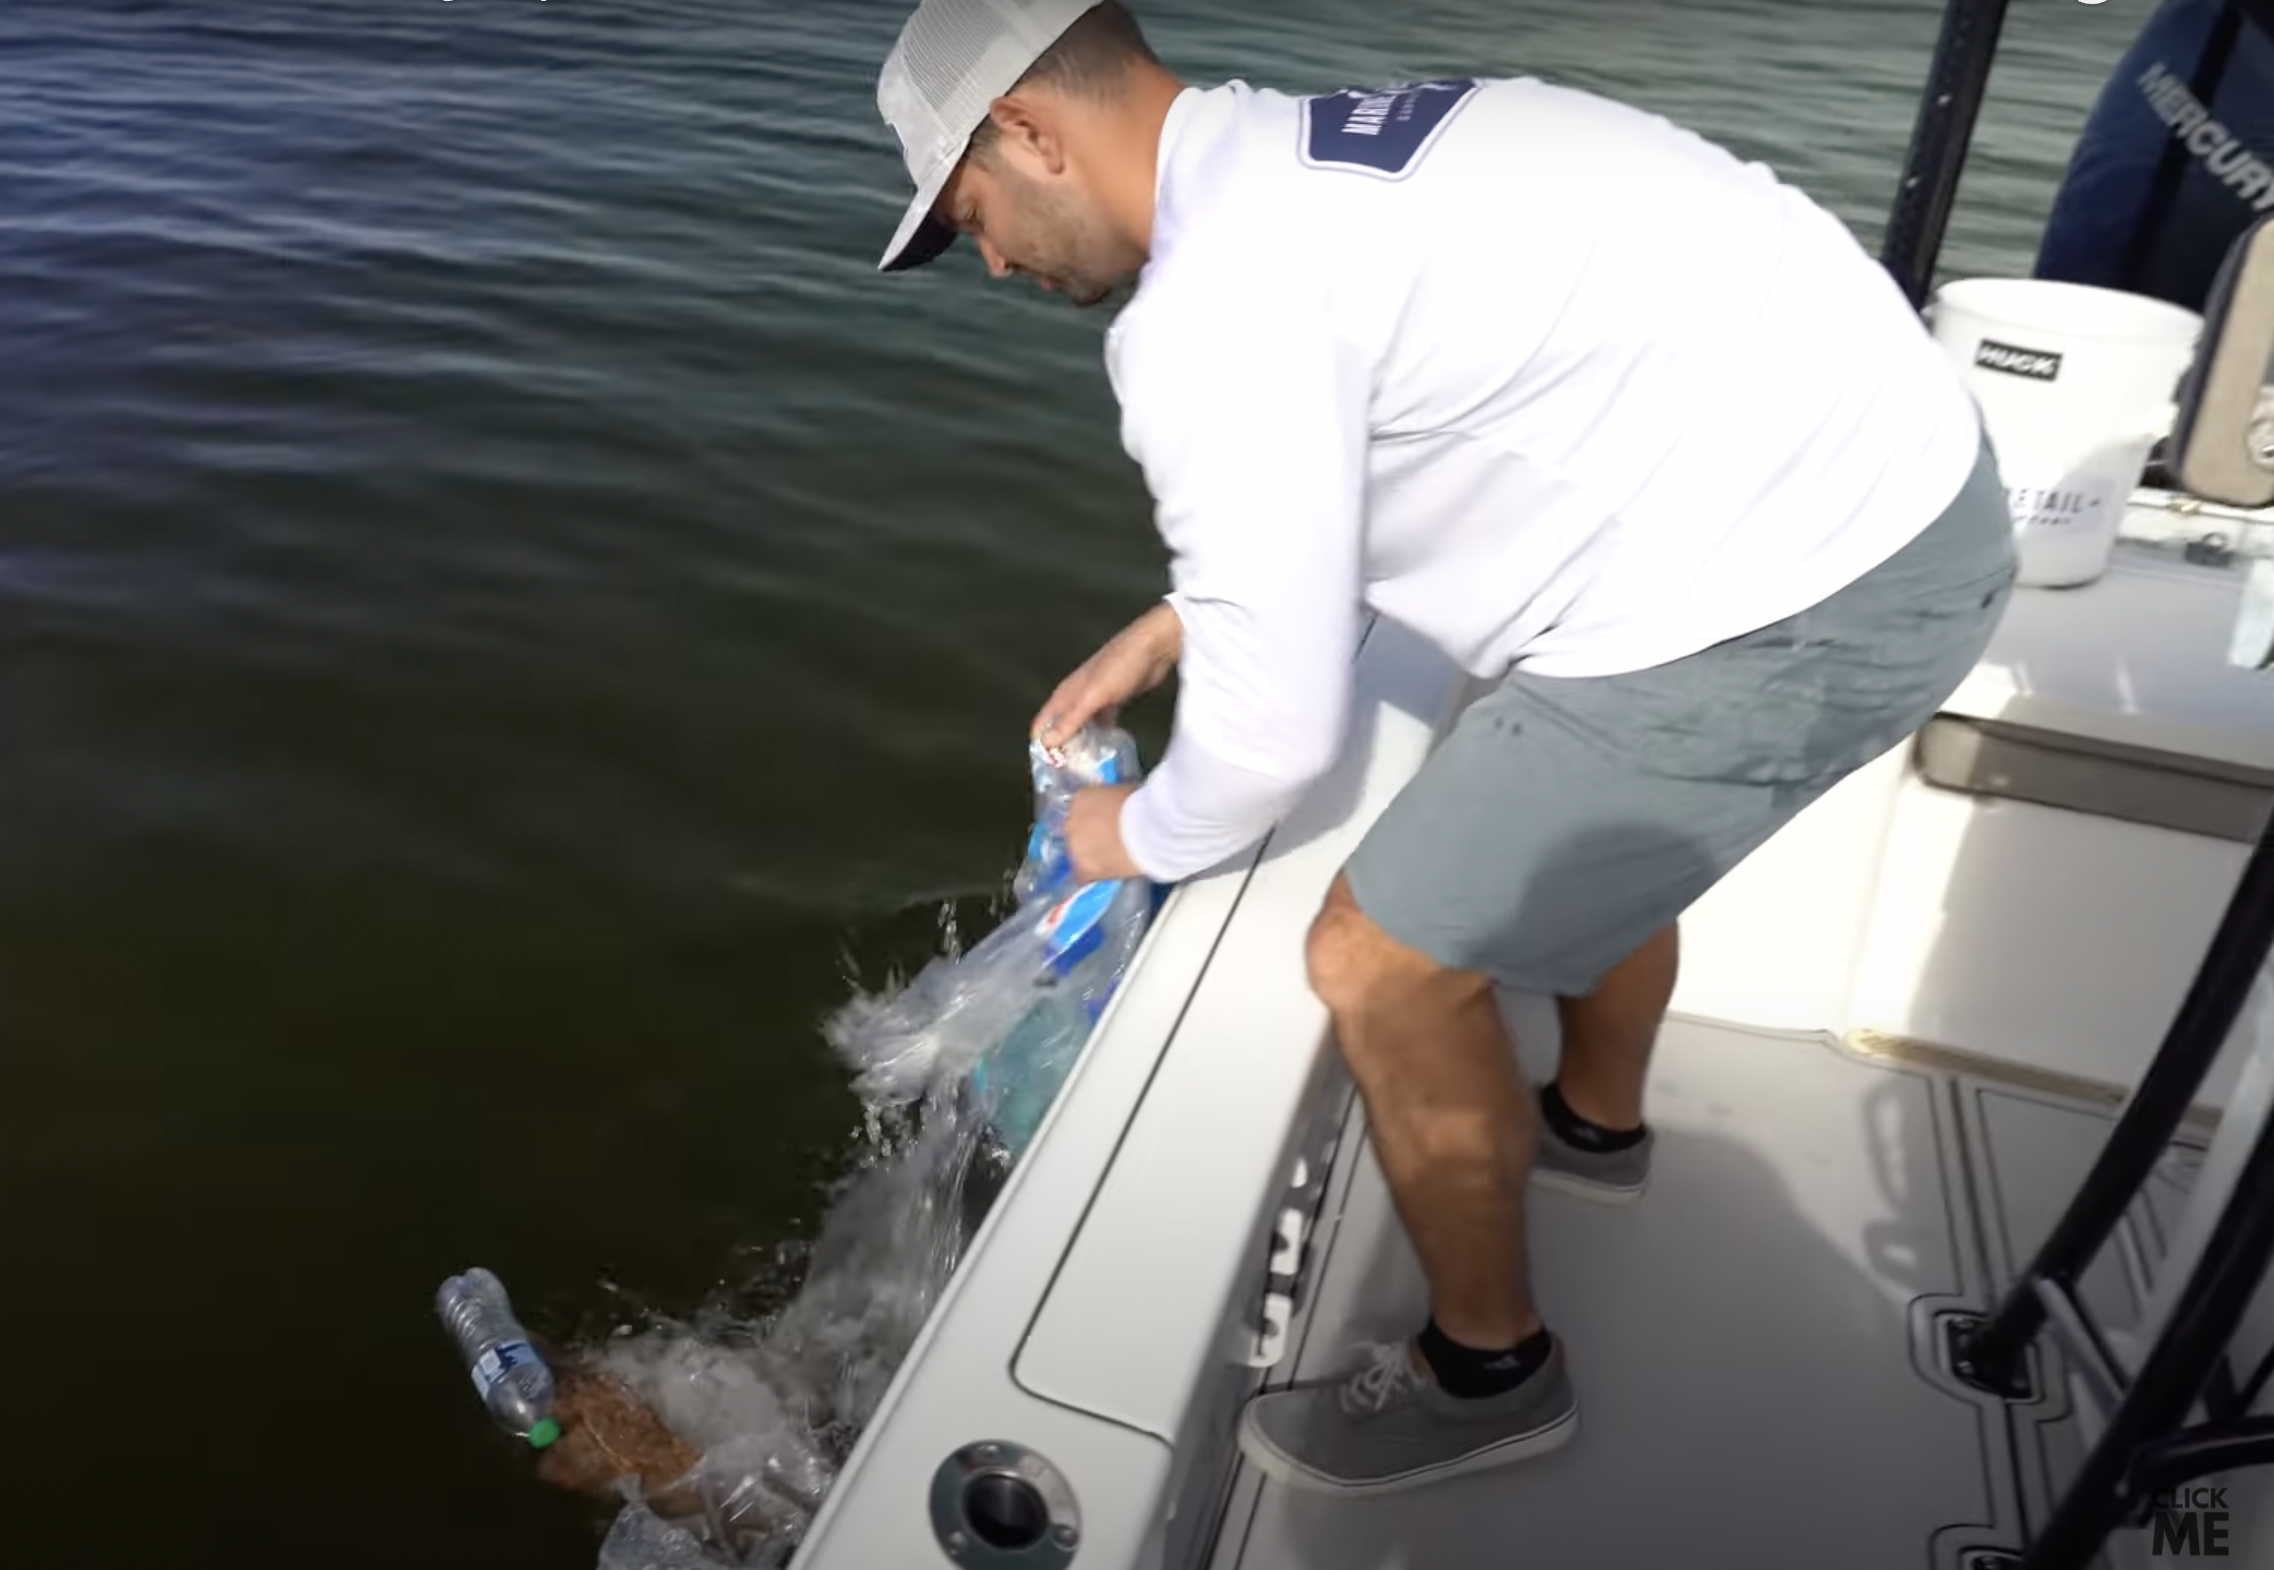
The industry standard is to charge on a per-foot basis, which can make the overall pricing structure more manageable for sellers and buyers (this commonly ranges from $8 to $40 per foot). Charging by the step (this commonly ranges from $10 to $15 a step).
Ultimately, the way you determine this rate is up to you. Keep in mind that sellers with more experience and a proven track record can easily charge on the higher end, while someone new to the scene will likely need to start lower.
2. Know How Much Product You Need

As a boat detailer, you’ll be responsible for purchasing your own cleaning products — and ensuring you make the most out of them.
So, before you agree on a price, take into account how much product you’ll need to dedicate for the job. Some factors to consider include:
- Size: Larger surface areas will demand bigger product amounts
- Expectations: Does your buyer want a fully corrected boat that requires special products and multiple steps? Or, are they content with a standard cleaning job that can be completed using common supplies?
Though it’s easy to overlook, don’t be tempted to skip this step. Landing on a final price will be easier once you understand the personal cost it’ll take for you to get started.
Check out some of our favorite products for beginners in the industry!
3. Know the Boat’s Condition

Preferably, an inspection of the boat is the first — and most important — thing you do when considering taking on a client.
Knowing how dirty the boat is will help you have a better idea of how much product you’ll need, outline a detailing plan, and know whether your client’s expectations are realistic or not.
4. Know How Much Time It’ll Take

At this point, you should already have a general idea of how much time the job will take. Still, it’s worth sitting down to plot out a specific estimate: consider client instructions, boat size, condition, necessary products, and more.
With all bases covered, you’ll have everything you need to start narrowing down your final offer price.
Final Thoughts
It’s rare for boat detailers’ prices to stay the same forever, so don’t feel pressured to nail down one concrete offer that’ll never change. To simplify your approach, we recommend starting with a few base packages, along with some add-ons you can charge extra for.
So, keep working with clients, perfect your services, and continue altering your prices to best reflect your value.

What is Starke Yacht Care Venom Water Spot Remover?
There is one thing that’ll make any boat fanatic crazy, no matter how long they’ve enjoyed owning their aquatic vehicle: water spots!
After enough time floating across your favorite lakes, wharfs, and beaches, you’ll eventually come across this ever-common annoyance. Though water spots might seem like a simple problem, they can greatly diminish the appearance of your boat’s surface, making it appear unpolished and ruining its aesthetics.
Fortunately, there are plenty of ways to solve this issue and restore your paint to its natural, gorgeous state. Of these, water spot removers remain a popular solution across the world, as they are crafted to easily fit in with the rest of your detailing process.
In this article, we’ll look at Starke Yacht Care’s Venom Water Spot Remover to highlight some of its best features, and prove why it belongs in your detailing arsenal.
What is Starke Yacht Care Venom Water Spot Remover?

Designed for the modern detailer, this product is an innovative water spot remover compatible with multiple surfaces, including paint, gel coat, glass, metal, and those that have been ceramic coated.
No matter how stubborn your water spots are, the solution promises to wipe away any trouble stains diminishing your boat’s shine — all without ruining your initial coating.
When Should I Use Venom?
You’ll get the most use out of your supply by applying Venom before your light polishing or buffing jobs. When used as a pre-wipe, the formula will grant you a squeaky-clean substrate, drastically cutting down your overall polishing time. Of course, don’t forget that your surface should be completely dry before application!
How Do I Apply Venom?

Now comes the fun part: putting your water spot remover to use! Fortunately, Starke Yacht Care has made this step incredibly easy. Here’s how to do it:
- First, consider wearing gloves, as the Venom formula is acidic. Then, grab a microfiber pad from your supply stash and place a few drops of Venom onto it.
- Next, begin applying it to your boat’s surface with firm, even strokes (divide the surface into manageable sections). Allow the formula to sit for 30-60 seconds.
- Once time’s up, remove any excess using a microfiber towel and move on to the next section!
As a side note, be wary of using Venom when your boat’s surface is warm, as the formula may dry too quickly for you to wipe away the excess in time.
Final Thoughts
Ultimately, no detailing process is complete without the inclusion of a water spot remover. Without one at your side, you’ll encounter regular stains that ruin the aesthetics you worked so hard to achieve!
So, whether you plan to use it on a gel coat, chrome, plastic, metal, or paint surface (or all of them!), Starke Yacht Care’s Venom Water Spot Remover belongs in your toolshed.

Buying Your First Boat? 5 Things to Look Out For (Tips from a Boat Detailer)
It is something you might’ve dreamed about for years: finally purchasing your first boat. Now, you can make those dreams of sailing the open seas (or your local lake) come true.
Still, you’ll need to know a few things before diving right in. Just like any other major purchase, identifying the best boat for your needs is a process that requires careful consideration.
Fortunately, you don’t need to figure it out on your own. So, to get you started, here are some things to look out for as you consider your options.
1. What Are Your Needs?

Though all cars function the same, you’d say there’s a big difference between the conventional commuter vehicle and a luxury sports vehicle, right?
Boats are no exception, as you’ll find a variety of types crafted to fulfill unique needs. Some considerations to help you narrow down the list include:
- Budget: Thanks to a rise in boat financing options, you can receive a loan to help you pay for your aquatic vehicle from various lenders. With most agreements lasting between 10 and 15 years, you’ll usually only need to provide up to 20% of the initial price as a deposit. Still, be sure that you’ll have the income necessary to cover monthly payments!
- Size: Once you have your boat, you’ll need somewhere to keep it safe. The way you accomplish this depends on your boat’s size, so don’t forget to keep that in mind while browsing.
- Condition: Since most boats are made to last a long while, you’ll have no trouble finding discounted pre-owned listings across the internet and in-person if you don’t want to buy new.
2. Shop Around at Different Dealers

Most dealerships have unparalleled knowledge and experience of the boating industry, making them a prime place to find your next ride. However, don’t be afraid to branch out to different sellers to see what advantages (and discounts) a competitor could offer.
3. Inspection

Don’t ever hand over your hard-earned cash before performing an inspection! Follow these steps to confirm everything is as it should be:
- Examine the hull, outboard cowling, upholstery, and I/O for issues.
- Test the dipstick, wiring, and fuel and oil.
- Look for leaks and open the hatches.
- Double-check that nothing is missing (i.e., empty bolt holes, expired wiring, etc.)
4. Closing the Deal
Now it’s time for the paperwork.
Once you’ve found the boat for you, you’ll need to cover your legal obligations, like registering it with the DMV, acquiring an insurance plan, and paying any additional fees that come with the purchase. It might seem boring, but it’s a crucial part of becoming a boat owner!
5. Be Ready to Invest in Maintenance

Congratulations, you now have the boat of your dreams!
As you enjoy your new purchase, don’t forget that maintenance will be a common and consistent part of your boat’s lifespan. So, stay up to date on best practices for equipment upkeep, washing, detailing, and more to protect your investment.
Check out our favorite eco-friendly boat cleaning products!
Conclusion
Buying a boat is simultaneously exhilarating and exhausting, yet with these tips at your side, you can come out the other end ready to take on the open water.

Our Favorite Eco-Friendly Detailing Products
Whether you have centered your career around the ocean, have a passion for ocean sports, or are simply a hobbyist who enjoys days out on the water, it’s important to understand the dangers facing the waters you love so much. Like many other natural wonders, humans have had a negative impact on the world’s oceans, filling them with debris and pollution without a second thought.
If we all put the health of the oceans at the forefront of our actions, we might be able to save them from irreversible damage, but we must act fast. When it comes to detailing products, we recommend using ones that are as kind to the waters as the waters are to you; read more to learn about our favorites.
Oceans in Crisis: Realities of Oceanic Pollution
Eight million metric tons of plastic are dumped into the ocean each year. To put that in perspective, that is equivalent to 17.6. billion pounds of plastic, or 57,000 blue whales. The trash in the ocean has formed together to form five giant garbage patches, with the largest being twice the size of Texas. Plastic is especially dangerous because as it breaks down, the microplastic injects harmful chemicals into the sea, contaminating the organisms that call it home.
Pollution from plastic and other debris isn’t the only concern to the ocean, harmful chemicals from water runoff, oil spills, boats, and more, are absorbed by our oceans on a daily basis. These chemicals can harm wildlife, kill coral reefs, and make oceans uninhabitable for marine life. The time to do something is now.
The Responsibility of Boat Detailers
If you work on, in, or around boats, you have a responsibility to take care of our oceans. In reality, all humans should care for our oceans, but as people who have a deep understanding of the mysticism and beauty of these waters, it is up to us to make up for the people who don’t.
It doesn’t have to be a complicated undertaking; pick up the trash you see in the water and use ocean-safe products when you can. We highly recommend supporting #TeamSeas, an organization committed to raising $30M to remove 30M lbs. of plastic and trash from the oceans. By pooling our resources, working together, and listening to those who know best, we can save the oceans before it’s too late.
Our Favorite Detailing Products

Nautical One has a line of products called the Marine Care products, and these are all considered to be harbor safe. With these, you can sleep easy knowing that you’re taking small steps to reduce the negative impact humans have on the world’s oceans. Here are a few of our favorites:
This high-tech polymer boat sealant is great for all the non-skid surfaces on your boat. It creates a seal that keeps out salt, fish blood, dirt, grime, and more, ensuring your clean-up process is a breeze!
As a 2-in-1 cleaner and protectant, the Nautical One Marine Care Ceramic Wash & Wax is designed to safely remove grime while giving your vessel that extra shine. It even provides protection from the damaging effects of the sun!
Get rid of dirt and grime throughout your entire boat with this harbor-safe cleaner. If soap and water won’t cut it, this stuff will!
Final Thoughts
It doesn’t take much to give back to the ocean; it has given us so much. Anyone who works in or around boats has a deep love for the deep seas, and we could probably do a better job of showing it. From here on out, commit to doing your part so the ocean is as beautiful for future generations as it has been for us. Swap out harsh chemicals for ocean-safe products, clean up the trash you find, and support organizations that are working on larger scales than a single boat can.

Boat Detailing Basics: Forced Rotation vs. Long Throw Polisher
When you’re detailing boats, knowing your tools is just as important as a golfer knowing which club to use in which situation or a painter knowing which paintbrush to use for a certain style. Both a Forced Rotation Machine and a Long Throw Polisher are useful, but they have different use cases. If you use them in the wrong situation, you might end up doing the heavy lifting instead of letting the machine do the hard work, and you likely aren’t going to get the results you want. We’ll break down when and how to use each machine for the best results.
Forced Rotation Machine: FLEX 3401 Dual Action Polisher

Also known as “The Beast,” this is an older model of what is the current FLEX XCE 10-8 dual action polisher. The FLEX 3401 is still available for purchase, but you may have to look a bit harder to find it. This machine is great for cutting and polishing but isn’t the best option if you’re solely looking to polish.
In instances where you want to do a one-step process without compounding, this is a great option. By pairing an orange force pad and Elevate with the FLEX 3401, you’ll get really excellent results without having to break out two machines. Because this machine gets so hot, the pad you pair it with is crucial; we recommend using the Lake Country line of pads called the Force Lineup when using a forced rotation machine.
Long Throw Polisher: RUPES BigFoot LHR Rotary Polisher

Though the RUPES Bigfoot LHR is similar to a dual-action, it has a 21 mm range of motion, meaning it travels way further than the standard 8mm dual action machine. The increased travel offers better correction than a dual-action machine would, but also creates a lot more heat.
With this Long Throw Polisher, you’ll need to use Lake Country HDO (Heavy Duty Orbital) Pads. These pads are made in different variations: the blue pad is a more aggressive foam, the orange is a bit softer, and the black is a finishing pad. These pads work so well because of the foam insert in them that’s a bit stiffer, protecting the pad itself from disintegrating due to the high level of heat produced by the machine. If you’re looking to correct holograms, swirls, or micro-scratches, this is the machine for you.
Machine Differences
The main difference between these machines is that the Forced Rotation Machine rotates in one direction and oscillates in the other direction, while the Long Throw Polisher rotates and oscillates in the same direction. Because of this nuance, you’ll feel as if the Forced Rotation Machine is a bit harder to handle, almost as if it’s fighting you the whole way.
Conclusion
Both machines are great resources to have available to you, but, if you’re anything like us, you might find that you use the Long Throw Polisher more often. The Forced Rotation Machine is good for a one-step process, but it’s not uncommon to split out the steps for the best results. Whether you’re a detailing business owner or a hobbyist, knowing your detailing machines is the first step towards success.

What is Triple P Prep Polish and When Should I use It?
Whether you’re venturing into the world of boat detailing for the very first time or already have years of experience, knowing how to use a polisher is one of the most important steps of the journey. And, if you’ve been around for long enough, you’ll realize that Triple P polish is one of the most popular options amongst boat owners nationwide.
So, what exactly is this product, and when should you add it to your own arsenal of tools? Stick around to find out!
What is Triple P?

In general, polishers are essential for removing defects in your boat’s paint. If yours has ever received damage from extensive rain exposure, scratches, oxidization, sanding, and more, solutions like Triple P are one of the first things you’ll want to turn to, as they’re able to eliminate these defects without causing further errors.
With oil held in the inner phase of the emulsion, Triple P’s water-based polish solution offers two different phases for users to take advantage of:
- Water Inner Phase: A micro-abrasive that can be used on swirls and minor scratches to produce a mirror-like finish.
- Oil Outer Phase: Highly lubricated with solvent, silica resin, and oil blends, a film designed to help anchor coatings to their surfaces.
You can also expect to benefit from its included quartz attraction agents and gloss enhancing chemicals, both designed to offer optimum adhesion with polymer-based sealants like Repel Pro. So, regardless of your skill level, Triple P is one of the most well-rounded products to add to your supplies shed.
When Should I Use Triple P Prep Polish?
This polisher will close out your boat detailing process following the use of a compound. For a more efficient experience, it’s recommended that you first wash your boat with a low-PH boat soap and wipe it down with an IPA solution using a forced rotation machine or a random orbital & polishing pad.
How to Apply Triple P Prep Polish?
Finally, it’s time to put your long-trusted polish solution into action.
First, you’ll need to lay down a silica film primer layer and wait 30 to 60 minutes for it to “set.” It’s important not to skip this step, as this allows the resin layer’s cure to get well into the surface prior to polish application. Use either a Liquid Thor or Repel Pro ceramic for the best result.
Once your timer is up, you can finally apply your Triple P coating, allowing it to crystalize together with the initial resin layer. Now, you can enjoy all the benefits that come with its advanced swirl-removing, protective formula thousands of owners have used in their boat detailing efforts.
Conclusion
From simple surface corrections to larger paint damage, Triple P is guaranteed to be the polisher you need to tackle any detailing task thanks to its advanced formula. It is difficult to identify any other product that offers the same comprehensive polish and protective elements, so it’s worth considering adding it to your collection.

What You Need to Ceramic Coat a Boat
So, you’re finally ready to apply ceramic coating to your boat. Exciting, right?
Still, before you jump into it, you’ll need a few tools at your side. Much like any other detailing job, use ceramic coating protection requires a few supplemental products.
Don’t worry; we’re here to help. Here’s everything you’ll need to get started.
Triple P Ceramic Prep Polish

From its protective properties to ultra-efficient swirl-removing uses, the Triple P Ceramic Prep Polish has been a favorite amongst boat owners for years. Whether you need something to help fix paint damage or enhance a finished job, Triple P can handle pretty much anything you throw its way.
As such, it should be one of the first items you add to your arsenal prior to a ceramic coating — let alone any kind of detailing work you expect to perform in the future.
Surface Prep Alcohol Spray

Of course, you can’t carry around an efficient polish without also having a proper cleaner at your side to remove leftover oils and lubricants. Fortunately, this Surface Prep Alcohol Spray offers an all-in-one solution that’ll ensure your surfaces are fully prepared for a coating.
As a bonus, its alcohol-based formula can also be used as a general cleaner for glass, plastic, marine paint, metal, and gel coat surfaces. So, you can be sure you’re getting your money’s worth no matter how you plan to use the trusted product.
Autofiber Thick Coating Microsuede Applicator Sponge

Next, if you’ve ever used a microfiber applicator during a detailing job, you’ve probably seen how easy it is for them to absorb more product than necessary, forcing you to constantly reapply solutions and waste precious cleaning time.
Well, this problem has a simple solution: the Autofiber Microseude Applicator. With three distinct layers — foam (inner), barrier (middle), and microfiber (outer) — crafted to limit buildup of product and prevent it from soaking through, the applicator is an efficient improvement every boat owner should have in their collection.
Standard Microfiber Cloths

Of course, we can’t leave out the classic tools every boat owner has come to know and love: standard microfiber soft cloths.
These versatile cleaning products are trusted options for almost any task — not solely for ceramic coating. Whether you plan to use them on chrome, paint, gel coat, or another surface type, they can help apply nearly any product without scratching or marring your boat’s paint.
Ceramic Coatings

Finally, you’ll need a steady supply of ceramic coating protection products to finish the process. When it comes to long-term surface protection, you can’t go wrong with either of these popular choices:
- For Beginners: Liquid Thor Ceramic Coating (goes on thin)
- For Experts: Starke Yacht Repel Pro Ceramic Coating (goes on thick)
Regardless of which option you choose, don’t forget to top it with some Starke Replenish Silica Spray to extend the coating’s lifespan.
Final Thoughts
Though it might seem complicated at first glance, applying a ceramic coating to your boat is guaranteed to be a satisfying process — and well worth the time investment. 

How to Ceramic Coat A Boat
It’s finally time to take the next step in your detailing journey: ceramic coating.
Though performed by thousands of boat enthusiasts worldwide, this process requires a bit of preparation before you begin your efforts. So, here’s everything you need to know to get started.
What You’ll Need
First, you’ll need to stock up on the following products:
- Rupes Big Foot LHR 21ES Mark 3 Random Orbital Polisher
- FLEX Cordless Rotary Polisher PE 150 18.0-EC Set
- Lake Country Blue Hybrid Knitted Wool Cutting Pad
- Lake Country HDO Blue Heavy Polish Pad
- Starke Yacht Care Triple P Ceramic Prep Polish
- Starke Yacht Care Surface Prep Alcohol Spray
- Autofiber Thick Coating Microsuede Applicator Sponge w/ Plastic Barrier
- 18'' x 18'' Standard Microfiber
- Starke Yacht Care Replenish Silica Spray
- Starke Yacht Care Repel Pro Marine Grade Ceramic Coating
- Liquid THOR Marine Nano Ceramic Coating
Step 1: Prep the Boat with Prep Polish
As with almost any detailing job, you’ll need to prepare your boat’s surface prior to applying ceramic coating protection. If there’s already any grease, oil, or other muck sticking to the paint, it’ll need to be removed with a prep polish to grant you the best starting base possible — or else you risk allowing those spots to interrupt the following steps.
Step 2: Soak up Your Autofiber Pad with Repel Pro Ceramic Coating
You’ll need to saturate (or “prime”) a new applicator pad prior to use, as it’ll come out of the package dry — something you don’t want to put near your boat’s precious paint.
Fortunately, bringing it to optimum dampness is simple. Using your Repel Pro bottle, place a generous number of droplets across the pad’s surface to soak it through (you can also fold it in half afterward to even out the coverage). Once there are no dry spots remaining, it’s ready for use!
Step 3: Apply Coating and Let it Sit
If Using Repel Pro:

Placing the applicator flat against your boat’s surface, cover the area in a horizontal pattern motion, allowing for some overlap to ensure no sections are missed. Let sit for around two minutes.
If Using Liquid Thor:

Follow the same steps as you would with Repel Pro (i.e., soak the pad and apply evenly). Liquid Thor will “rainbow” more than its counterpart and goes on smoothly, as well as allows for a longer working time. Let sit for around two minutes.
Keep in mind that any vinyl you wish to put on your boat will need to be placed prior to the ceramic coating, or else it will no longer stick.
Step 4: Remove Using the Two Towel Method
Using the fluffy side of your first microfiber towel, remove the coating the same way you applied it: with consistent, firm strokes. Depending on which formula you used, the coating should come off smoothly — though it may be slightly tacky in some areas. (Don’t wait so long that it becomes stuck!)
After wiping a section using the first towel, follow with the second towel (flipped to the tight, knitted side) to remove any leftover coating.
Step 5: You’re All Done!
Congratulations: your ceramic coating detailing process is all done! Now, you can enjoy a renewed, gorgeous boat thanks to the wonders of ceramic coating protection.

7 FAQs About Ceramic Coatings
Though it’s one of the most effective detailing tools in any boat owner’s shed, ceramic coating protection isn’t always easy to understand — especially if you’re a newcomer to these kinds of products. Fortunately, we have all the answers to your burning questions.
1. What Are the Advantages of a Coating vs. a Polymer?

Essentially, it all comes down to science.
A polymer coating is usually water-based, which means its molecules aren’t “tight” enough to fill the pores of your boat’s gel coat. As a result, its longevity is greatly impacted since the formula simply sits on the surface.
In comparison, ceramic coating penetrates and hardens within the pores, making it much harder for it to be removed.
2. How Much Coating Do I Need for a Boat?
The answer to this question mostly depends on how large your surface area is, though one coating kit can usually cover up to 700sqft. (Keep in mind, the bottom of your boat will likely need the same amount of liquid.)
3. How Long Does Coating Actually Last?

Generally, you can expect your ceramic coating protection to last between 12 to 18 months, though that number largely depends on how dedicated you are to maintenance. Without proper care, you can expect most of your detailing efforts to survive only a short time, while thorough upkeep will help increase their lifespan.
4. How Long Do I Leave My Coating On?
As a rule of thumb, you’ll want to leave your ceramic coating on for as long as possible before it becomes too difficult to remove — generally, no more than two minutes.
This answer can also depend on the type of coating you’re using. For instance, Liquid Thor has a longer working time than Repel Pro, which means you’ll have an extra minute or two to apply the formula before it must be wiped off. So, research the brand you’re picking up prior to application.
5. How Hard is it to Mess Up and Have to Start Over?
Fortunately, messing up during the detailing process isn’t the end of the world, but it is quite time-consuming. For example, if you don’t remove your ceramic coating protection in time, you will need to restart the steps and re-prep. So, be sure to watch as many instructional videos as you can beforehand to avoid mistakes.
6. What Process Do You Have to Do to Re-apply Ceramic Once it Begins to Lose Its Properties?
This depends on how soon you realize your coating is wearing off (which shouldn’t be too long if you’re performing proper maintenance). If you catch it early, a simple light polish and re-coat is probably all you need, whereas deeper wear will first require compounding to remove dirt and oxidation.
7. Ease of Application on a Scale from 1-10?

Those using Liquid Thor’s advanced carrying agent can expect its ease of use to sit around a 3, whereas Repel Pro’s fast-flashing properties place it at a 6.
Final Thoughts
Hopefully, with these questions answered, you can join the thousands of boat owners benefiting from ceramic coating and rounding out their detailing process.

3 Hacks for Rotary Polishing
Rotaries are commonly used for compounding, but you’re leaving value on the table if you don’t try using them for polishing. While there are specific polishers, learning how to use a rotary for polishing can reduce the upfront costs of pricey supplies and is great to have in your back pocket when you’re in a pinch! There are multiple techniques with different supplies, so keep reading to figure out the best technique for you.
What You’ll Need – Recommended Supplies
Though using a rotary for polishing will cut down on your list of supplies, there are still critical components you’ll need to get started. It’s important to use the right pads with the right compounds, so be sure to read through each technique below and check that you have the right supplies. Below are the supplies needed for the 3 different techniques:
- DeWalt DWP849X 7”/9” Variable Speed Rotary Polisher
- 7.5" x 2" Lake Country Single Sided Wool Cutting Pad
- Lake Country 148mm (5-7/8") D-A Backing Plate
- Starke Level R Heavy Cut Compound
- Starke Elevate Medium Cut Compound
- Starke Restructure Heavy Cut Compound
- Starke Ignition Finishing Polish
- Lake Country HD Blue SYN Wool
- Presta Double Sided Pad
Basic Compounding Technique

Basic compounding can be done with either a heavy cut compound or a medium cut compound, but I like to use Level R Heavy Cut Compound with the Lake Country Single Sided Wool Pad. You can also use a yellow wool pad and a less aggressive compound like Elevate or Restructure; it’s up to you. The more scratches and oxidation you’re trying to remove, the more abrasive your materials will need to be.
To execute this technique properly, put the compound on the pad, and begin to work it into the vessel while maintaining a slow and steady pace at around 600 or 800. Don’t put the speed up to 2,000 or 3,000 and have it hopping around inconsistently; keep it flat at a slight right angle to let the machine do all the work. One of the most common errors people make while compounding is trying to go too fast, which leads to splotches and patchiness instead of a clean finish. If, after you compound an area, you see some slight discoloration, it means you didn’t hold the rotary there long enough.
Blue Hybrid Pad Technique

The Lake County Blue Hybrid Pad is lamb’s wool blended with foam so it’s a cutting pad that has the qualities of a polishing pad. If you’re using this pad, Elevate is the best compound to pair with it. Starting out, it’s a similar process: apply the compound to the pad and steadily work it into the boat. Once the compound is worked in, turn up the heat the get the surface hotter and melt out the scratches in the gel coat. This technique is incredibly rewarding because you can really see the shine after you finish. Grab a microfiber towel and wipe down the area, then admire your craftsmanship.
Polishing Pad Technique

For the pure polishing technique, use a Presta Double-Side Pad paired with Starke Ignition Finishing Polish, which can cut 1,500 scratches out and remove swirls. Saturate the pad with the polish, then work it in slowly and consistently. For this technique, avoid adding heat or speed and focus on staying steady. Using your rotary for polishing will keep you from needing to buy a random orbital machine which can be pricey.
Final Thoughts
Though the rotary machine is typically used for compounding, there are ways to make it a more versatile tool in your workshop. With the right technique, proper pads, and correctly paired compounds or polishes, a rotary machine can be used for compounding, hybrid compounding, and polishing. Don’t be afraid to try different techniques and methods; sometimes tricky problems require creative solutions. This is an especially great hack if you’re just starting out and not sure which tools are considered a priority investment. If you have to buy one machine, buy a rotary machine.

No More Streaks: How Starke Restructure Heavy Cut Compound Can Restore a Boat's Shine
Anyone who owns a boat or a yacht can attest to the annual struggle of keeping it in condition. The same goes for regular maintenance, which is equally important. In order to retain that first-day shine, you need to be on top of your cleaning and detailing schedule. While there is a wide variety of detailing products that have come up in recent years, Starke Yacht Care's Restructure Heavy Cut Compound is a popular choice amongst DIY enthusiasts as well as professionals. In today's blog, we will check out what makes this product so popular among the boating community, and why it is preferred over other similar products.
What is Starke Restructure?

Starke Restructure Heavy Cut Compound is a compounding agent that is used for cutting heavy oxidation, deep scratches, and removing swirl marks. Its DIY-friendly formula makes it a popular choice for both the professional detailer and the weekend warrior. The compounding agent in this product has been designed to cut 1000-1200 grid sand scratches easily, so you won’t need to press the buffer tightly against the surface to amplify its cutting ability. All in all, it lays a solid foundation for you to detail your dull boat. With Starke Restructure Heavy Cut Compound, one thing that needs to be kept in mind is that it is not a finishing compound; it is designed for heavy cut and removal of oxidation.
Why Starke Restructure Works?
On the surface, the Starke Restructure heavy cut compound looks quite similar to other cutting compounds. What makes this compounding product so different is its diminishing abrasives. Unlike other compounds, it does not diminish as quickly due to its heavy-duty formula. The diminishing abrasives allow you to remove scratches from oxidization without having to worry about removing too much gel coat. This means that even after compounding your boat, you will be able to see the gloss of your gel coat rather than having it dulled by heavy-duty abrasives.
Upon applying, the cutting compound slowly disintegrates into precise diminishing abrasives that work as a polishing compound against swirls. The lack of aggressive abrasives also makes polishing less tiring, which ultimately helps cut down the time required for detailing the entire boat. Another advantage of using Starke Restructure Heavy Cut Compound is that it doesn’t gum up buff pads thereby increasing their lifespan as well as making them easier to wash off after use.
How to Apply the Product?
Applying Restructure shouldn't be too difficult for the DIYer or professional detailer. However, before applying the compound make sure that the gel coat is chalky or has a matte finish. This is because the heavy cut compound is only designed to penetrate through tough spots, applying it on anything less murky would damage the gel coat.
To apply, you will need a variable speed buffer and preferably a wool buffing pad. The wool buffing pad is ideal for applying cutting compounds especially those that have a “diminishing effect”. Divide the boat into smaller sections and begin the buffing process. Use only a small amount on either side of the pad. Move onto another area as soon as the matte layer has been removed. The formation of compound dust is also a good indicator that the compound has done its job, after which you will need to wash your boat and polish it.
Final Thoughts:
All in all, the Stark Yacht Restructure heavy cut compound is great at what it is designed to do. It has all the essential properties of a good compound plus some additional ones that really allow it to stand out from other products. The heavy-duty compound leaves as much dust as any other compound, but its ability to restore mirror-like shine thanks to the diminishing abrasives makes up for its dusty mess. Despite all of its magic, the Starke heavy cut compound is available at a highly affordable starting price of just $45.

How To Repair Gel Coat Scratches
Deep scratches in the gel coat of fiberglass boats can be incredibly frustrating for the owner, and they often occur due to accidental mistreatment or improper maintenance. Luckily, with your expertise and the right tools, you can make your customers’ problems disappear, just like the gel coat scratches.
What You’ll Need – Recommended Supplies
Before you get started on removing the gel coat scratches for a customer, take a quick look at what you have on hand to ensure you have all the necessary supplies to complete the job. You want to go through the steps in a timely manner for the best results, so it’s best to avoid pausing a job to get new tools or supplies. Here’s what you’ll need:
- FLEX XFE15 150 Cordless Orbital Polisher
- FLEX Cordless Rotary Polisher PE 150 18.0-EC Set
- Rupes Big Foot LHR 21ES Mark 3 Random Orbital Polisher
- 7.5” x 1.5” Lake Country Single Sided Wool Cutting Pad
- Lake Country Blue Hybrid Knitted Wool Cutting Pad
- Lake Country HDO Blue Heavy Polish Pad
- Starke Yacht Care Level R Heavy Cut Compound
- Starke Yacht Care Elevate Medium Cut Compound
- Starke Yacht Care Ignition Finishing Polish
- Sandpaper Mirka 6” Abralon Foam Grip Mesh Abrasive Disc
Step 1: Wet Sanding

Grab your FLEX XFE15 to start the wet sanding process. We recommend using this instead of the Alburnett ACE because the FLEX XFE15 is meant for wet sanding specifically. Before you start sanding, be sure to wet the area to avoid your sandpaper getting clogged easily. Then, attach a 6” Abralon Disc with 1,000 grit to begin sanding.
Move the polisher back and forth in a consistent, smooth pattern, similar to if you were mowing a lawn. Be sure to apply even pressure but don’t move too quickly; run the machine at a 2 or 3. Once you have sanded the surface with the 1,000-grit paper, switch to a 2,000 grit sandpaper to remove the scratches even further. If you still see surface scratches, you’re not done sanding, so keep repeating the process until the scratches are gone. At your discretion, you can complete this process a 3rd time with 3,000 grit sandpaper, which will make the polishing process a breeze.
Step 2: Compounding

For this step, you’ll need the FLEX Rotary Polisher, a Single-Sided Wool Cutting Pad, and Level R Heavy Cut Compound. Put a line of Level R in areas where light scratches still need to be buffed out (Note: if the scratches are too deep, you’ll need to go back to wet sanding), and use the polisher with the wool cutting pad attached to distribute the compound and remove scratches. Occasionally, you can speed up the machine to heat up the surface and melt down the resin if needed.
Step 3: Finishing Compound

As you move into Step 3, switch out the single-sided wool cutting pad for the Lake Country Blue Hybrid Knitted Wool Cutting Pad and use the Elevate Medium Cut Compound. The qualities of this pad, mixed with the Elevate Compound are going to give the perfect glassy finish. Slowly work the compound into the surface, and once it’s distributed evenly, turn up the speed of the rotary polisher to continue melting down the resin. After this step, all scratches should be removed.
Step 4: Polishers

The final step in the process requires the Rupes Orbital Polisher, a Lake Country Heavy Polish Pad, and the Starke Yacht Care Finishing Polish. Instead of putting the finishing polish on the vessel directly, put a few large dots on the polish pad. The polish goes far because these pads are dense and won’t soak up the polish, meaning your materials last longer and end up on the boat instead. Run the machine at a 3 or 4 to ensure you’re getting enough spin, and slowly work the product onto the surface of the boat exterior. Once you have completed this step, wipe down the surface with a microfiber cloth and admire your smooth finish.
Preventative Care
In order to avoid the above process altogether, there are some critical steps boat owners can take during the year to ensure their vessel stays bright, shiny, and scratch-free:
- Store the boat properly. This means rinsing off all saltwater after each day on the ocean, parking the boat next to a wall or in a storage shed where it is protected from UV damage, and avoiding storing it under trees where leaves, branches, and pine needles can scratch it.
- Each spring, encourage your customers to treat their boat with a thorough wash, followed by an oxidation remover and a buffer. While it’s not the most fun process, it’s critical to bringing back the shine after a long winter.
- Remove stains with soft cloth when they occur then add a coat of wax to seal in the shine!
Final Thoughts
Removing scratches from the gel coat of a boat can be a bit time-consuming and require some elbow grease, but it’s not a difficult process. If a customer brings in a boat that needs a little love, refer to the above steps to help bring its shine back. The best thing any boat owner can do is follow proper prevention and maintenance steps to avoid scratching the gel coat, but stuff happens, and when it does, you’ll be ready for it.
Interested in learning more about Gel Coat restoration? Watch our YouTube video by clicking the link below!
About Marine Detail Supply Tampa Bay:
We're Tampa Bay's number one source for boat detailing supplies. We'll price match any competitor and give you the best pricing, quick same-day shipping, and the highest level of support.